SpringBoot 使用 Elasticsearch
本文概述
本文简单介绍了 Elasticsearch 是什么,在 windows 环境下的安装 Elasticsearch,在 SpringBoot 项目中使用 Elasticsearch 对数据进行增删改查操作。

什么是 Elasticsearch?
Elasticsearch(简称 ES) 是一个开源的、高扩展性的分布式全文搜索和分析引擎,能够迅速、近乎实时的对大量数据进行存储、分析、检索,可以满足应用复杂的搜索特性和需求。
官网:https://www.elastic.co/products/elasticsearch
Elasticsearch 的核心是 Lucene ,使用 Java 进行封装,隐藏了 Lucene 的复杂性,提供 Java API 和 RESTful API,方便使用。
Elasticsearch 的应用场景
- 作为应用的全文搜索引擎,使用关键字在数量巨大的文档中定位;
- 作为 NoSql 存储数据,需要注意的是 ES 不支持事务;
Elasticsearch 基本概念
| 名称 | 含义 | 说明 |
|---|---|---|
| Cluster | 集群 | ES可以单独作为一个搜索引擎使用,也可以部署在多台机器上,相互合作处理 PB 级数据,这些相关合作的机器称为集群。 |
| Node | 节点 | 在集群中的一台机器称为一个节点,集群中的所有节点使用同一个名称,参与数据存储与集群索引和检索。 |
| Shard | 分片 | 当数据量大时,为了响应迅速,ES 将数据分片放到不同服务器上,查询时 ES 再将不同分片上的数据组合起来。 |
| Replia | 副本 | 副本是分片的精确复制,当主分片丢失时,ES 将副本提升为新的主分片。 |
| Index | 索引 | 类似关系型数据库中的“数据库”,有一个定义多种类型的映射。索引是逻辑名称空间,映射到一个或多个主分片,并且可以有零个或多个副本分片。 |
| Type | 类型 | 类型是索引的逻辑类别/分区,类似于关系型数据库中的“Table”。**注意: 官方表示,在 5.x 版本 ES 中可以创建多个 type,在 6.x 与 7.x 版本的 ES 中,一个 index 下将不能创建多个 type ,在8.x 版本中将会完全移除 type 概念。 ** |
| Document | 文档 | 一条记录,类似关系型数据库中的“Row”。 |
| Field | 字段 | 记录中的字段,类似关系型数据库中的“Column”。 |
在 windows 环境下安装 Elasticsearch
环境与版本
- JDK:1.8(最低 1.7)
- Elasticsearch:5.5.3
下载与安装
-
安装 JAVA 环境并配置环境变量,比较简单,这里不做说明了。
-
下载 ES 5.5.3,下载地址:https://www.elastic.co/downloads/past-releases/elasticsearch-5-5-3,我这里下载的是 ZIP 压缩包,解压即用。
下载最新版本:https://www.elastic.co/downloads/elasticsearch
下载其他历史版本:https://www.elastic.co/downloads/past-releases -
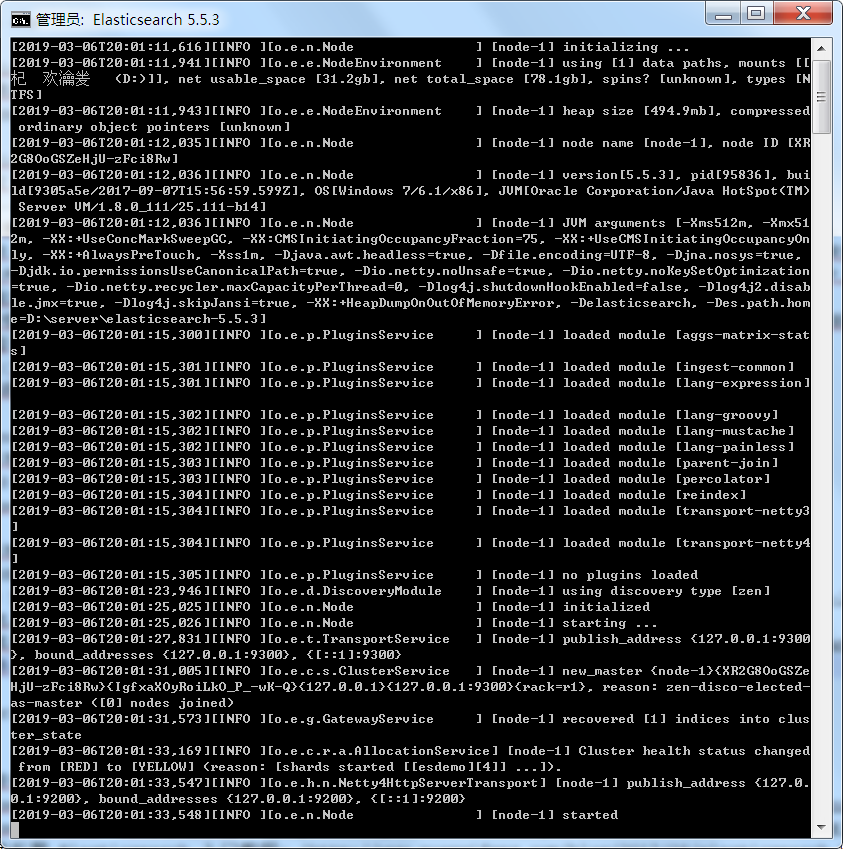
解压文件,进入 bin 目录下,运行
elasticsearch.bat即可运行 Elasticsearch。运行结果如下:
-
如果无法运行,窗口一闪而逝,在命令行中运行
elasticsearch.bat,这样可以看到错误信息,如果提示以下信息1
2Error occurred during initialization of VM
Could not reserve enough space for 2097152KB object heap说明 ES 运行时的 jvm 参数配置的内存太大了,这个版本中默认配置为 2G,我们可以修改 config 目录下的
jvm.options文件,将其中的-Xms2g与-Xmx2g改小,比如分别改成-Xms512m与-Xmx512m。 -
验证是否启动成功,打开浏览器,访问 http://127.0.0.1:9200/ ,如果输出以下信息,说明启动成功。
1
2
3
4
5
6
7
8
9
10
11
12
13{
"name" : "YYrPVm5",
"cluster_name" : "elasticsearch",
"cluster_uuid" : "x3JuucJuRhuSh4oY9ybVug",
"version" : {
"number" : "5.5.3",
"build_hash" : "9305a5e",
"build_date" : "2017-09-07T15:56:59.599Z",
"build_snapshot" : false,
"lucene_version" : "6.6.0"
},
"tagline" : "You Know, for Search"
}
在 SpringBoot 中使用 Elasticsearch
创建 SpringBoot 项目
创建一个 SpringBoot 项目,SpringBoot 的版本使用 2.0.4.RELEASE,并添加依赖 spring-boot-starter-web 和 spring-boot-starter-data-elasticsearch 。项目 pom.xml 如下:
1 |
|
添加配置
修改 SpringBoot 配置文件,将 application.properties 改为 application.yml (个人习惯使用 yml,使用 properties 配置也可以),并添加如下配置:
1 | spring: |
创建实体
在这个项目中,我们将数据全都存入 Elasticsearch 中,创建一个实体 User,在类上添加 @Document 注解,在主键字段上添加 @Id 注解,在其他字段上可以添加 @Field 注解来指定数据类型或日期格式等,也可以不加,使用默认的:
请注意,我这里的 Id 字段设置成了 String 类型,当存入数据时,ES 会自动生成主键值,如果使用数值类型,将不会自动生成,需要指定主键生成策略。
1 | // indexName 为索引名称,必须指定,相当于数据库名;type 为类型,相当于表名; |
创建 Repository
使用过 springboot-data 的都知道数据仓库接口,在这里我们创建一个 UserSearchRepository 接口,继承 ElasticsearchRepository<T, ID> ,接口中需指定两个泛型为 实体类型 与 实体的 Id 字段类型。
1 | // 命名成 UserSearchRepository,是为了跟其他存储方式的 Repository 区分 |
通过继承 ElasticsearchRepository 接口,我们可以直接使用其父类中提供的现用查询方法,如 save、saveAll、findById、findAll等,也可以使用提供的 search 方法对数据进行检索,可以进行分页查询。
创建 Service
使用创建的 Repository 对数据进行增删改查。
1 |
|
创建 Controller
创建 RestController,提供接口操作数据。
1 |
|
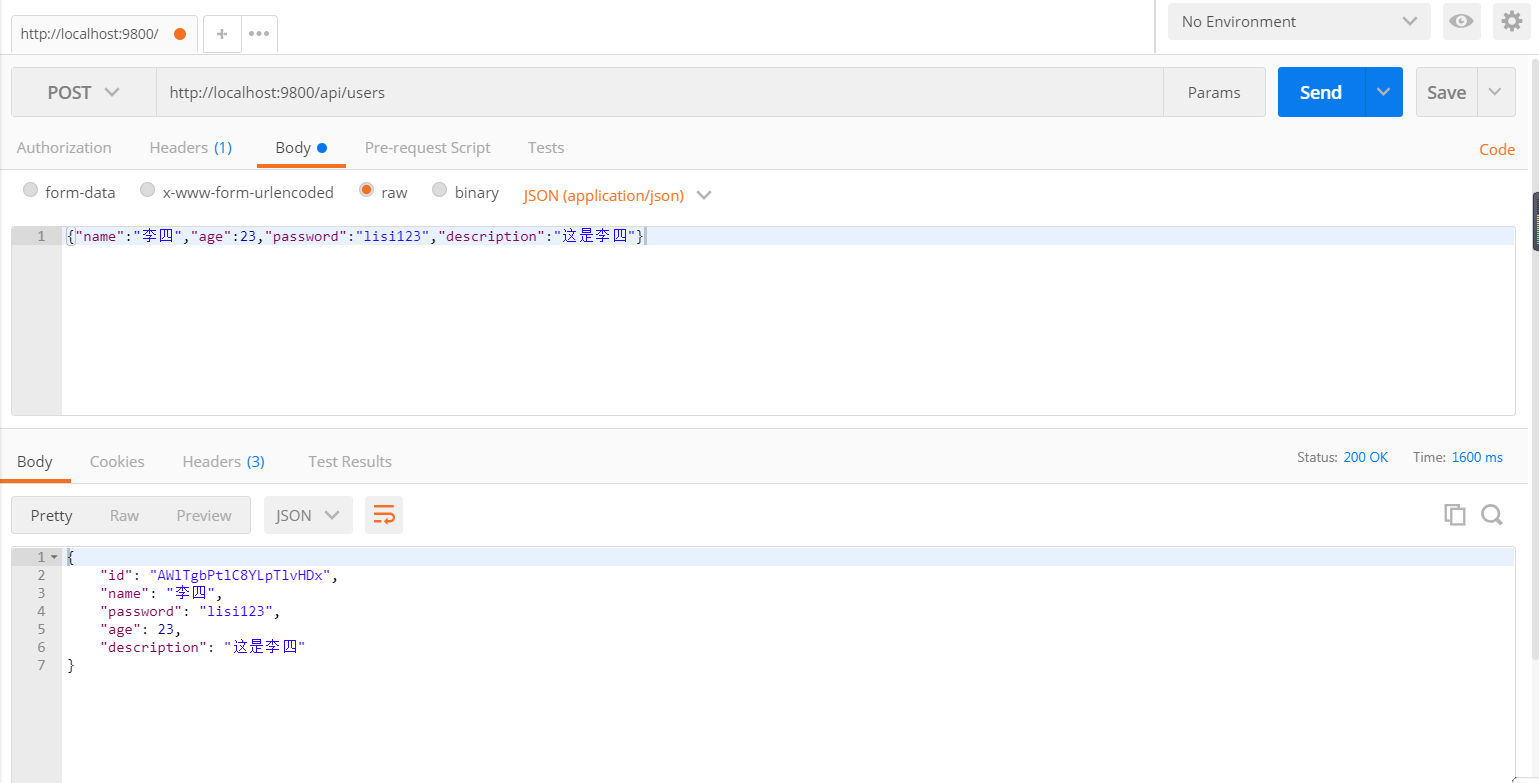
测试接口
使用 postman 工具对项目提供的 API 接口进行测试。
注意事项
ES 客户端版本与服务器版本要保持一致
使用 spring-boot-starter-data-elasticsearch 时,要注意 SpringBoot 的版本中使用的 Elasticsearch client 的版本,在 springboot 2.x中, 2.0.8.RELEASE 以下使用的是 5.x 的 client,相应的 Elasticsearch 也要使用 5.x 的版本,否则项目启动时连接 ES 时会报错。在 SpringBoot 2.10.RELEASE 及以上的版本中,使用的 6.x 的客户端,相应的也需要使用 6.x 的 Elasticsearch。
Windows 中使用 Elasticsearch 6.x 时,报错
1 | 此时不应有 \Java\jdk1.8.0_111\bin\java.exe" -cp "!ES_CLASSPATH!" "org.elasticsearch.tools.launchers. |
原因是我本地安装的 jdk 路径中有空格,最初安装时使用的是默认路径 C:\Program Files (x86) 下,重装 java 时选择了没有空格的安装路径,问题就解决了。推测安装路径中有中文可能也会导致错误。
Windows 中运行 Elasticsearch 6.x 时,报错
1 | [2019-03-15T17:04:46,057][WARN ][o.e.b.ElasticsearchUncaughtExceptionHandler] [D2DxNPS] uncaught exception in thread [main] |
错误提示 windows x86 系统不支持 X-Pack ,机器学习不可用,可以通过设置 xpack.ml.enabled 为 false 来解决。按提示中说的,修改配置文件 config/elasticsearch.yml ,添加如下配置项即可解决问题:
1 | xpack.ml.enabled: false |
配置 Elasticsearch 局域网访问
当需要在局域网中访问本机部署的 Elasticsearch 服务时,需要修改配置文件 config/elasticsearch.yml 。
-
将配置项 network.host 设置为
0.0.0.0,表示允许任何 ip 访问。 -
同时,**最关键的是要添加一个配置项: transport.host ** ,配置为
localhost。这一项在原本配置文件中是没有的,如果不配置,将可能无法启动 Elasticsearch 服务,错误提示:1
bound or publishing to a non-loopback address, enforcing bootstrap checks
添加的完整配置如下:
1 | network.host: 0.0.0.0 |
启动 ES 7.2 集群时出错
我在体验 Elasticsearch 7.2.0 时,先启动了一个 ES 服务,测试连接正常,然后将这个服务的文件目录拷贝了一份修改为节点 2 ,并修改配置文件中的节点名和绑定端口,但启动第二个节点时出错了,错误信息如下:
1 | [2019-07-01T10:22:06,702][WARN ][o.e.c.c.Coordinator ] [node-1] failed to validate incoming join request from node [{node-2}{kRooD80QRlyBB5tNY1yDvw}{t0JvlwBZQhmF-Gbpozt2VQ}{localhost}{127.0.0.1:9301}{xpack.installed=true}] |
解决办法:将两个 ES 的 data 目录中的内容清除,重新启动即可。
参考资料:
- Elasticsearch 官方文档: https://www.elastic.co/guide/en/elasticsearch/reference/current/index.html
- Elasticsearch学习,请先看这一篇: https://blog.csdn.net/makang110/article/details/80596017#
- 全文搜索引擎 Elasticsearch 入门教程: http://www.ruanyifeng.com/blog/2017/08/elasticsearch.html
- Elasticsearch面试题: https://blog.csdn.net/moakun/article/details/82817611